GATE INSTALLATION GUIDE
Note: One-way kits should be installed prior to wire being tied to the post.
-
Measure and mark locations. With the gate clamped to the female gate hangers*, measure and mark locations for post j bolts allowing ground clearance for swing of gate.
-
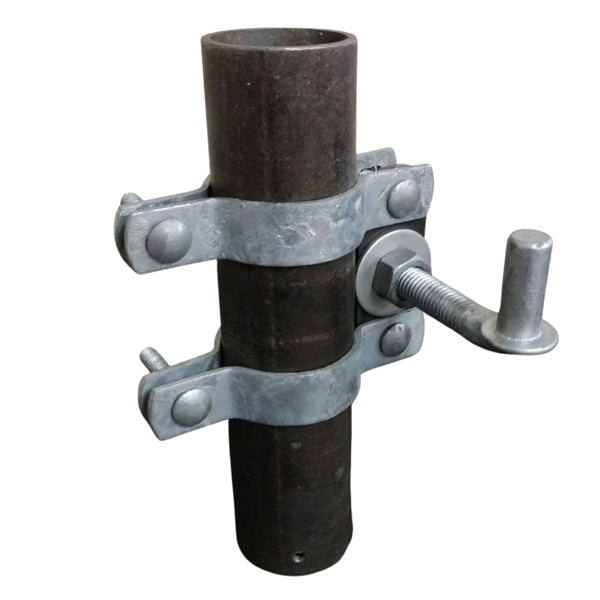
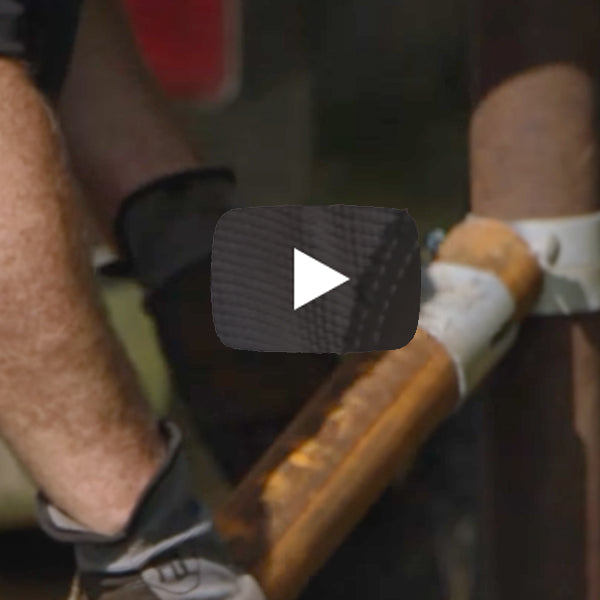
Assemble brackets. Place carriage bolt end into one side of the band and through one end of the j-bolt plate. Thread on nut and tighten the plate to the band. Repeat the process for the other end of the plate. Repeat for other assembly.
-
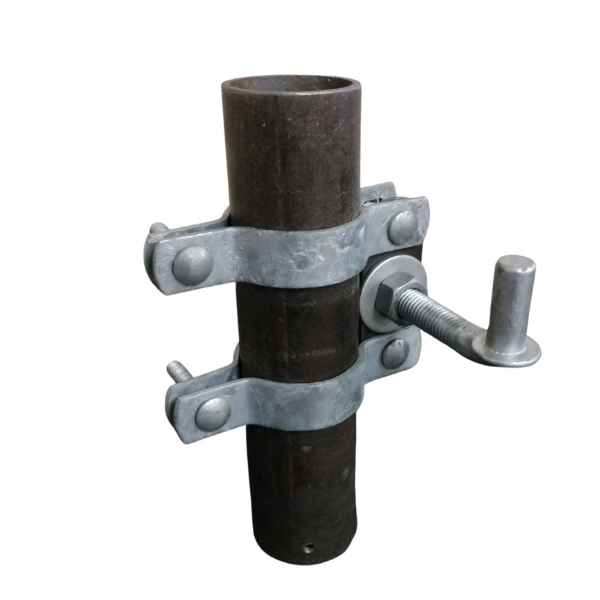
If two-way bands are used place the assemblies on the post to the marked height with the center hole open on the preferred swing side. Place the other halves of the band on the carriage bolts and thread nuts on the carriage bolt.
-
If one-way bands are used slide brackets over the post to the height marked and with the center hole open to the gate direction on the preferred swing side. Thread nuts on the carriage bolt.
-
Tightenoutside nuts to clamp the bands to the post.
-
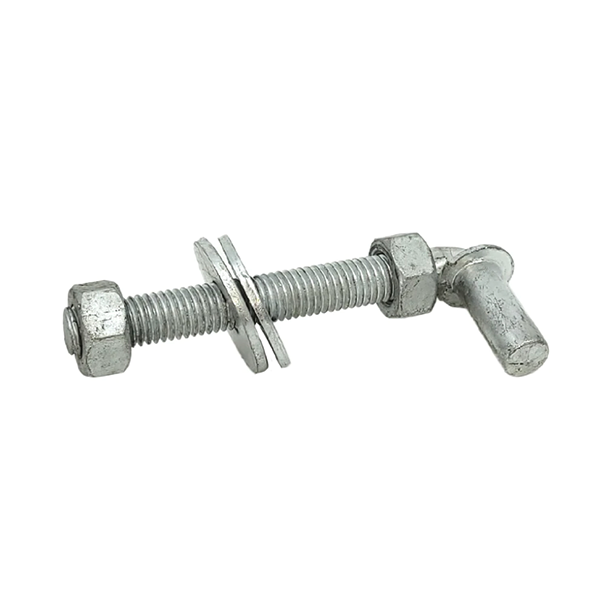
Install J-boltsthreading nuts on each bolt followed by a washer, insert the bolt into the plate hole, place another washer on the bolt followed by a nut. The nut should be threaded to allow some adjustment for gate leveling later. Make adjusts by threading j-bolt(s) in or out on the plate.
-
Place gate female clamp into bottom j-bolt assembly. J-bolts should be turned up on bottom, down on top. Loosen the top clamp and lift gate. Slide up clamp into the j-bolt and tighten.
-
Complete by securing clamps and making final adjustments to the gate swing.
*Not supplied with Bullet Fence System’s kit. Typically, provided with gate purchase.


 from
$11.46 USD
from
$11.46 USD